Productivity
Rectangle for Mac: Download, Setup & Best Shortcuts
Introduction
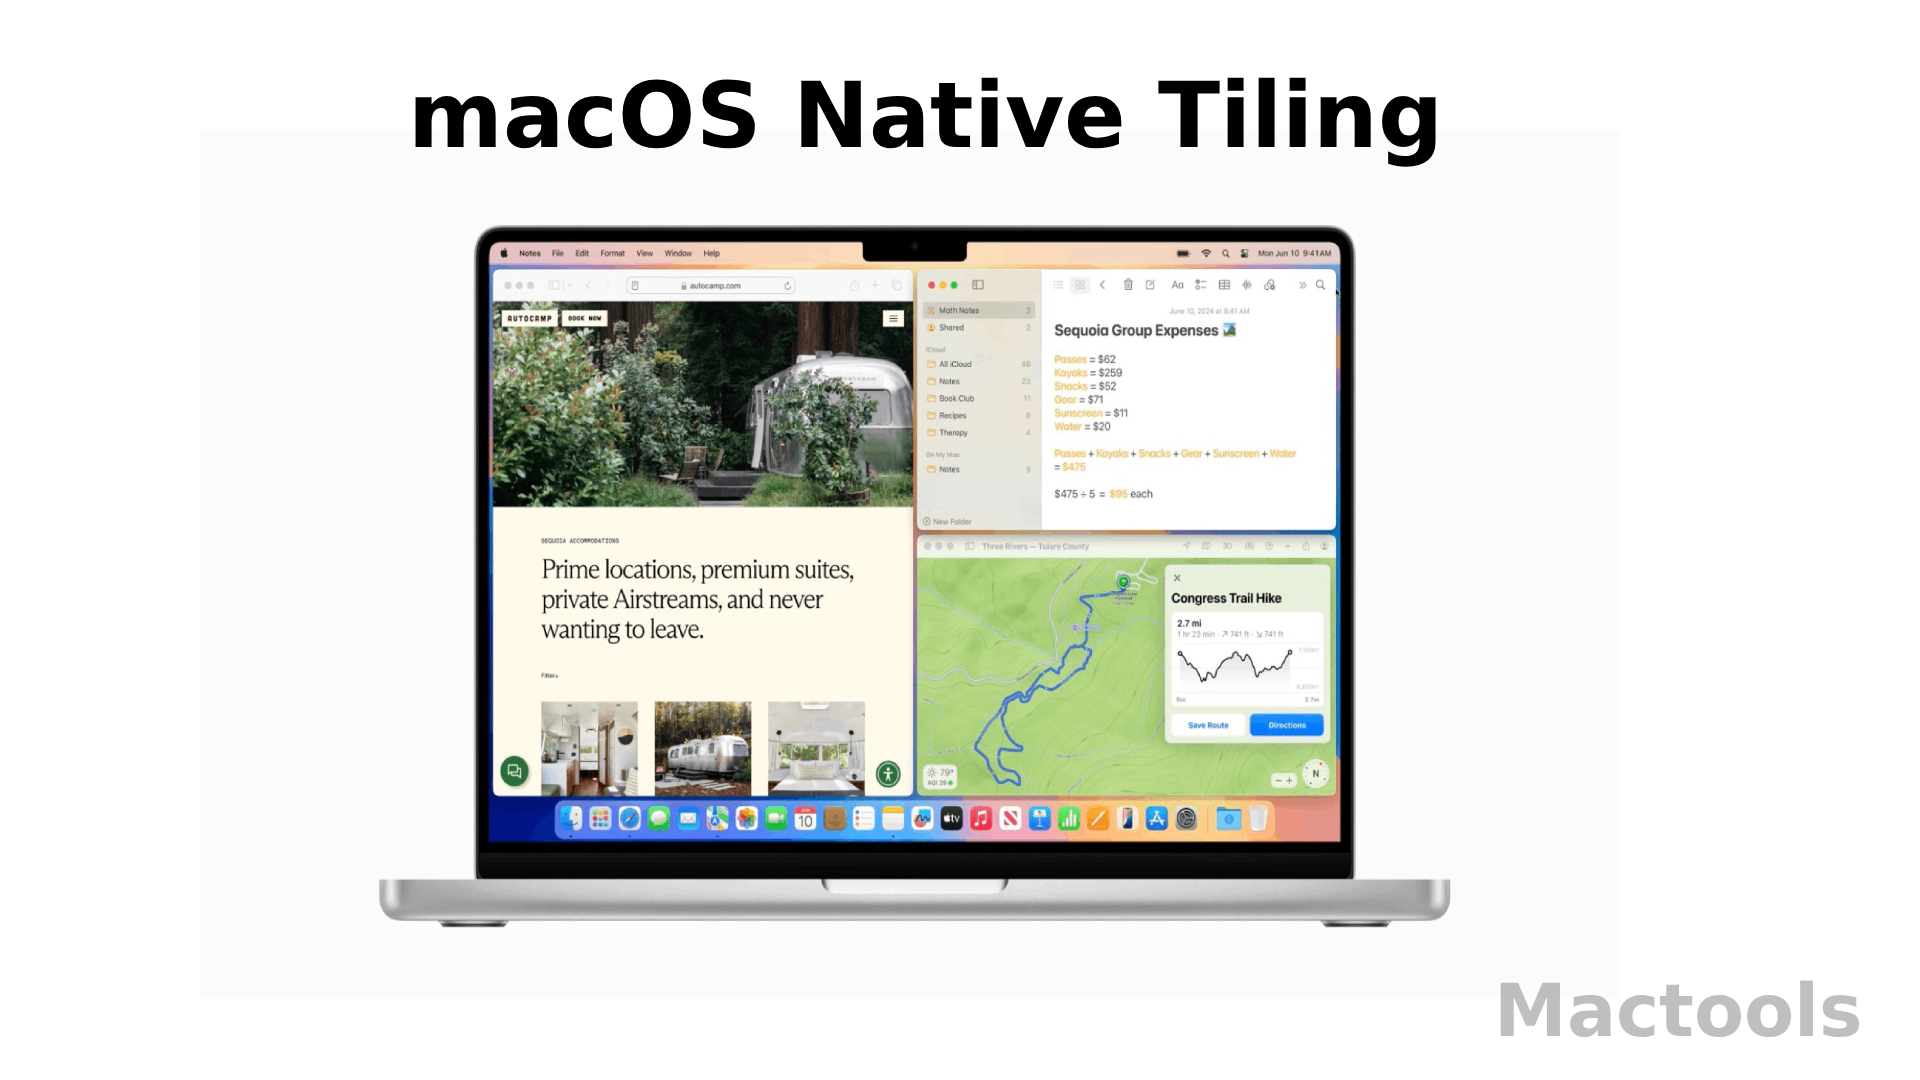
When Apple released macOS Sequoia, it finally added built-in window tiling. For many users, this felt like Apple catching up. You can now snap windows into halves or quarters without installing anything.
So why are so many Mac users still installing Rectangle?
The short answer: control.
Apple’s native tiling works, but it’s limited. You mostly get halves and quarters. Shortcuts are fixed and often tied to the Globe key. You can’t fine-tune layouts. And with some apps, the snapping can feel slightly delayed.
Rectangle solves these problems in a simple way. It’s free. It’s open-source. And it gives you far more layout options and full control over shortcuts.
For many users, especially those with large or ultra-wide monitors, Rectangle is still the better choice in 2026.
If you use your Mac for writing, coding, editing, or research, you’ll feel the difference within a day.
How to Download & Install Rectangle
Getting started takes only a few minutes.
Official Sources
You can download Rectangle from:
- The official site:
https://rectangleapp.com - The GitHub repository:
https://github.com/rxhanson/Rectangle
Both are safe sources. The app is free and regularly updated.
After downloading the .dmg file, drag Rectangle into your Applications folder and open it.
The “Clean” Install (For Developers)
If you use Homebrew, you can install Rectangle from Terminal:
1brew install --cask rectangleThis is the fastest method if you are setting up a new Mac and already use Homebrew.
The 2026 Permission Checklist (Important)
Rectangle needs Accessibility access to move and resize windows.
Here’s how to enable it in macOS Sequoia:
- Open System Settings
- Go to Privacy & Security
- Click Accessibility
- Turn on the toggle next to Rectangle
- If prompted, enter your Mac password
Without this step, Rectangle will not work.
Troubleshooting Tip: Reset Permissions
Sometimes after a macOS update, Rectangle may stop responding. This usually means the Accessibility permission got corrupted.
You can reset it using Terminal:
1tccutil reset AccessibilityThen reopen Rectangle and grant permission again in System Settings.
This fixes most “Rectangle not working” issues.
Rectangle vs. macOS Native Tiling
Let’s compare Rectangle with Apple’s built-in tiling.
Layouts
Apple gives you halves and quarters.
Rectangle gives you halves, thirds, two-thirds, corners, center, maximize, almost maximize, top/bottom halves, and more.
On a large monitor, thirds are much more useful than simple halves.
Shortcuts
Apple’s shortcuts are tied to system controls. You cannot easily change them.
Rectangle lets you customize everything.
If you prefer different key combinations, you can set them in seconds.
Multi-Monitor Strength
Rectangle shines with multi-monitor setups.
You can use a shortcut to “throw” a window to the next display. This is very helpful if you use two or three screens.
Apple’s native tiling does not offer this level of control.
The Essential Shortcut Cheat Sheet
Here are the shortcuts most people use daily.
The Core Six
- ⌃⌥ + Left Arrow → Left Half
- ⌃⌥ + Right Arrow → Right Half
- ⌃⌥ + Enter → Maximize
- ⌃⌥ + C → Center Window
- ⌃⌥ + Up Arrow → Top Half
- ⌃⌥ + Down Arrow → Bottom Half
After a few days, these become muscle memory.
Ultra-Wide Layouts (Thirds & Sixths)
If you use a 34” or 49” monitor, halves are often too big.
Rectangle lets you place windows in:
- Left Third
- Center Third
- Right Third
- Two-Thirds layouts
This is perfect for:
- Writing on one side
- Research in the middle
- Notes on the other side
Sixths are also useful for small tools like chat apps or music players.
The “Almost Maximize” Hack
This is one of Rectangle’s best features.
“Almost Maximize” expands the window to nearly full screen but leaves a small margin around the edges.
Why is this useful?
Because macOS Full Screen mode:
- Creates a new space
- Adds animation delay
- Hides your Dock and menu bar
“Almost Maximize” gives you a big workspace without changing spaces.
If you dislike full screen mode, this shortcut alone makes Rectangle worth installing.
Advanced Configuration: Pro Tips for Power Users
Rectangle is simple, but it has deeper settings if you want more control.
Ignore Certain Apps
Some apps, like Adobe Photoshop or Final Cut Pro, manage their own window layouts.
You can tell Rectangle to ignore specific apps:
- Open Rectangle settings
- Go to the “Ignore” section
- Add the app
This prevents layout conflicts.
Snap Areas (Drag to Edges)
Rectangle also works with drag gestures.
When you drag a window to the left edge, it snaps to half screen. Drag to corners for corner layouts.
This feels natural if you don’t want to rely only on shortcuts.
You can adjust snap sensitivity in settings.
Import & Export Your Setup
Rectangle lets you export your configuration as a JSON file.
This is helpful when:
- You get a new Mac
- You reinstall macOS
- You want the same shortcut setup everywhere
Just export the file, then import it on the new machine.
For developers or frequent Mac upgraders, this saves time.
Rectangle Pro: Is the Upgrade Worth It?
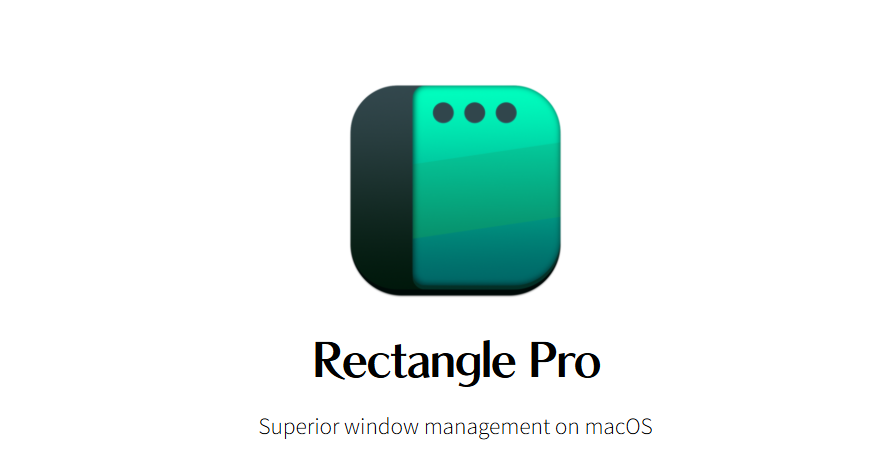
Rectangle also offers a paid version called Rectangle Pro.
The free version is more than enough for most users. But Pro adds:
- Custom Layouts (create your own grid sizes)
- App Grouping (move related apps together)
- Lasso (draw your window size with the mouse)
If you work with complex layouts every day, Pro may be worth it.
For casual users, the free version is perfect.
Conclusion: The Best $0 You’ll Spend on Your Mac
Even in 2026, Rectangle remains one of the first apps I install on any new Mac.
Apple’s native tiling is a good start. But it does not offer the same control, layout variety, or shortcut flexibility.
Rectangle is:
- Free
- Lightweight
- Reliable
- Easy to learn
- Powerful when needed
For students, writers, developers, designers, and remote workers, it makes daily work smoother.
If you care about productivity on macOS, Rectangle is still the gold standard.
And at $0, it’s hard to beat.
Leave a Comment