Design
4 Free Local Image Tools for Mac That Don't Upload Your Data
If you've ever dropped a photo into an online compressor or resizer, there's a good chance that file passed through a server you know nothing about. Most web-based image tools process your files on remote servers. For a casual vacation photo, that's probably fine. For anything sensitive such as client mockups, product shots before a launch, internal screenshots, it's worth thinking twice.
The good news is that most new Macs can handle image compression, optimization, and even AI upscaling completely on its own. No upload. No waiting. No third party holding a copy of your file.
This guide covers four tools that do all of that processing locally, on your machine.
Why "Local Processing" Actually Matters
The privacy angle is the obvious one. When you upload an image to a web tool, you're trusting that company's privacy policy, their server security, and their data retention rules. Most of the time nothing goes wrong, but you have no visibility into what happens to that file after you download your result.
There's also a speed argument. Local tools don't have an upload queue. They don't slow down when the server is busy. On a modern Mac, especially one with Apple Silicon, processing happens on hardware that's fast at this kind of work.
And finally, there's the cost angle. Several of the cloud tools charge monthly fees for batch processing or higher quality settings. Every tool in this list is free to use for the most common tasks.
1. Zipic — Best for Native macOS Batch Compression
The Reality: Zipic is a proper native Mac app, built in SwiftUI. It feels like it belongs on macOS because it was designed specifically for it.
The Details: Everything Zipic does happens locally on your machine. There's no account, no sync, and no server involved. You drag a folder of images onto it and it compresses them. The free tier gives you 25 compressions per day, which covers most personal and small project needs. It handles JPEG, PNG, WebP, HEIC, and GIF files.
The drag-and-drop batch processing works well. You can drop a whole folder and let it run while you do something else. Output quality is solid for everyday web use.
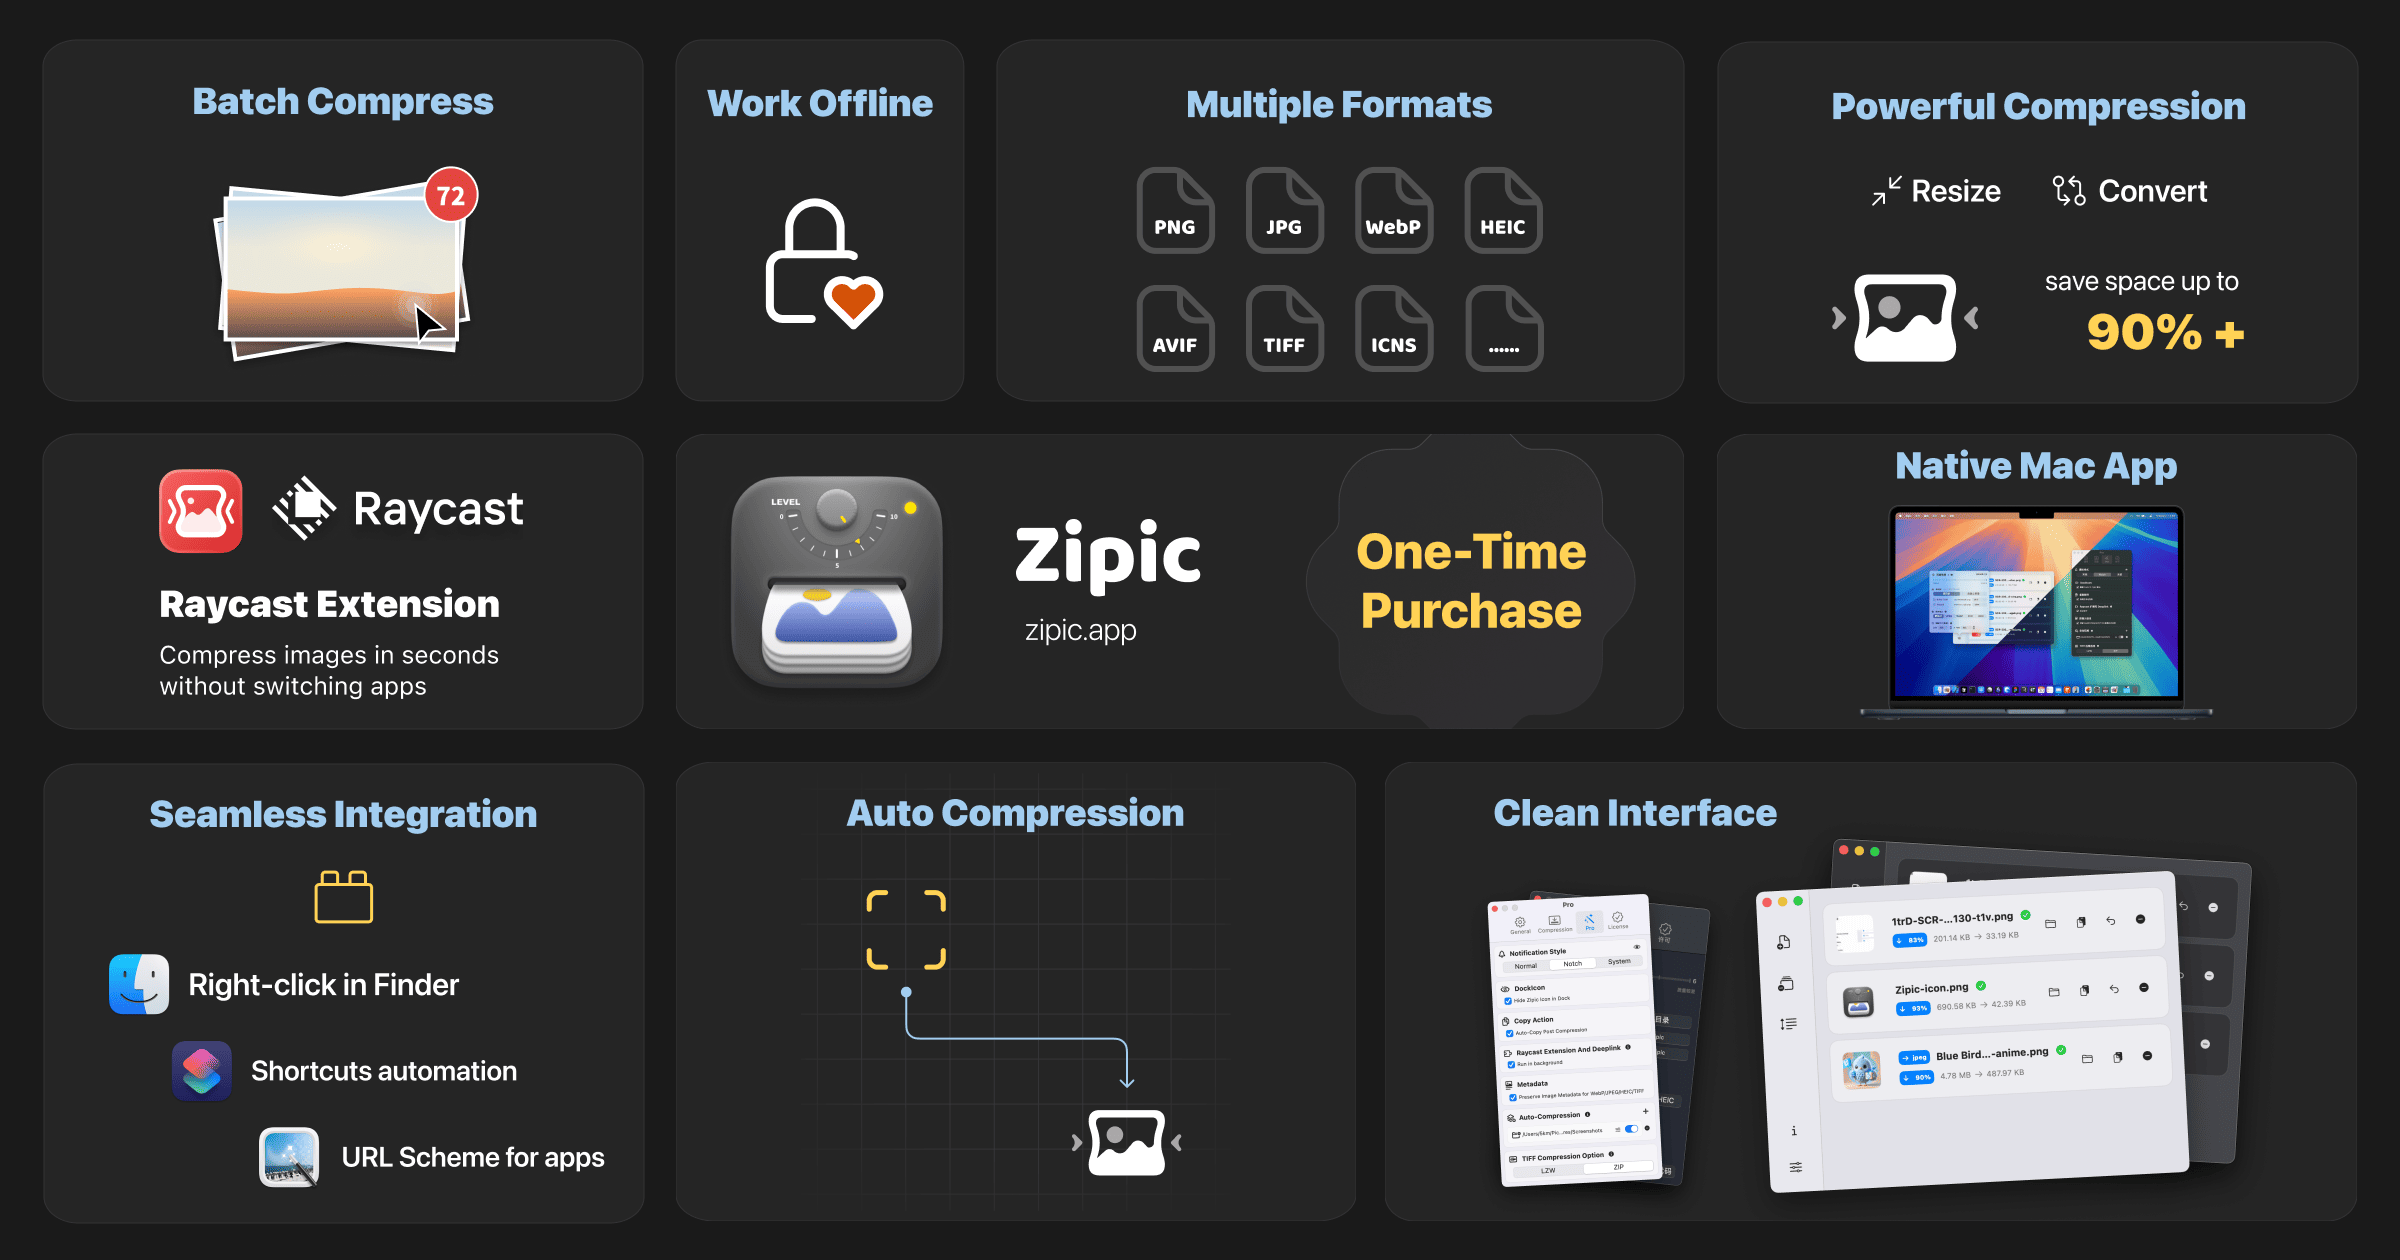
The Catch: If you need more than 25 compressions per day, or if you want to work with AVIF and SVG files, you'll need to pay for the Pro version. Features like folder monitoring (where Zipic automatically compresses anything you drop into a watched folder) and Raycast extensions are also Pro-only. The one-time Pro upgrade removes the daily limit and unlocks those automation features.
For developers or designers who compress images regularly, the Pro version is worth considering. But the free tier is genuinely useful on its own.
2. Squoosh — Best for Granular Single-Image Compression
The Reality: Squoosh was built by Google Chrome Labs. It runs entirely in your browser using WebAssembly which means the compression algorithms execute inside your browser's local sandbox, not on a remote server. Nothing leaves your machine.
The Details: The thing that makes Squoosh stand out is its interface. You get a split-screen slider that shows your original image on one side and the compressed version on the other, updating in real time as you adjust settings. You can see exactly where compression artifacts appear before you save anything.
If you want to fine-tune a hero image for a website and need to hit a specific file size without visible quality loss, Squoosh gives you that level of control. It handles WebP and AVIF output well, which makes it especially useful for web work.
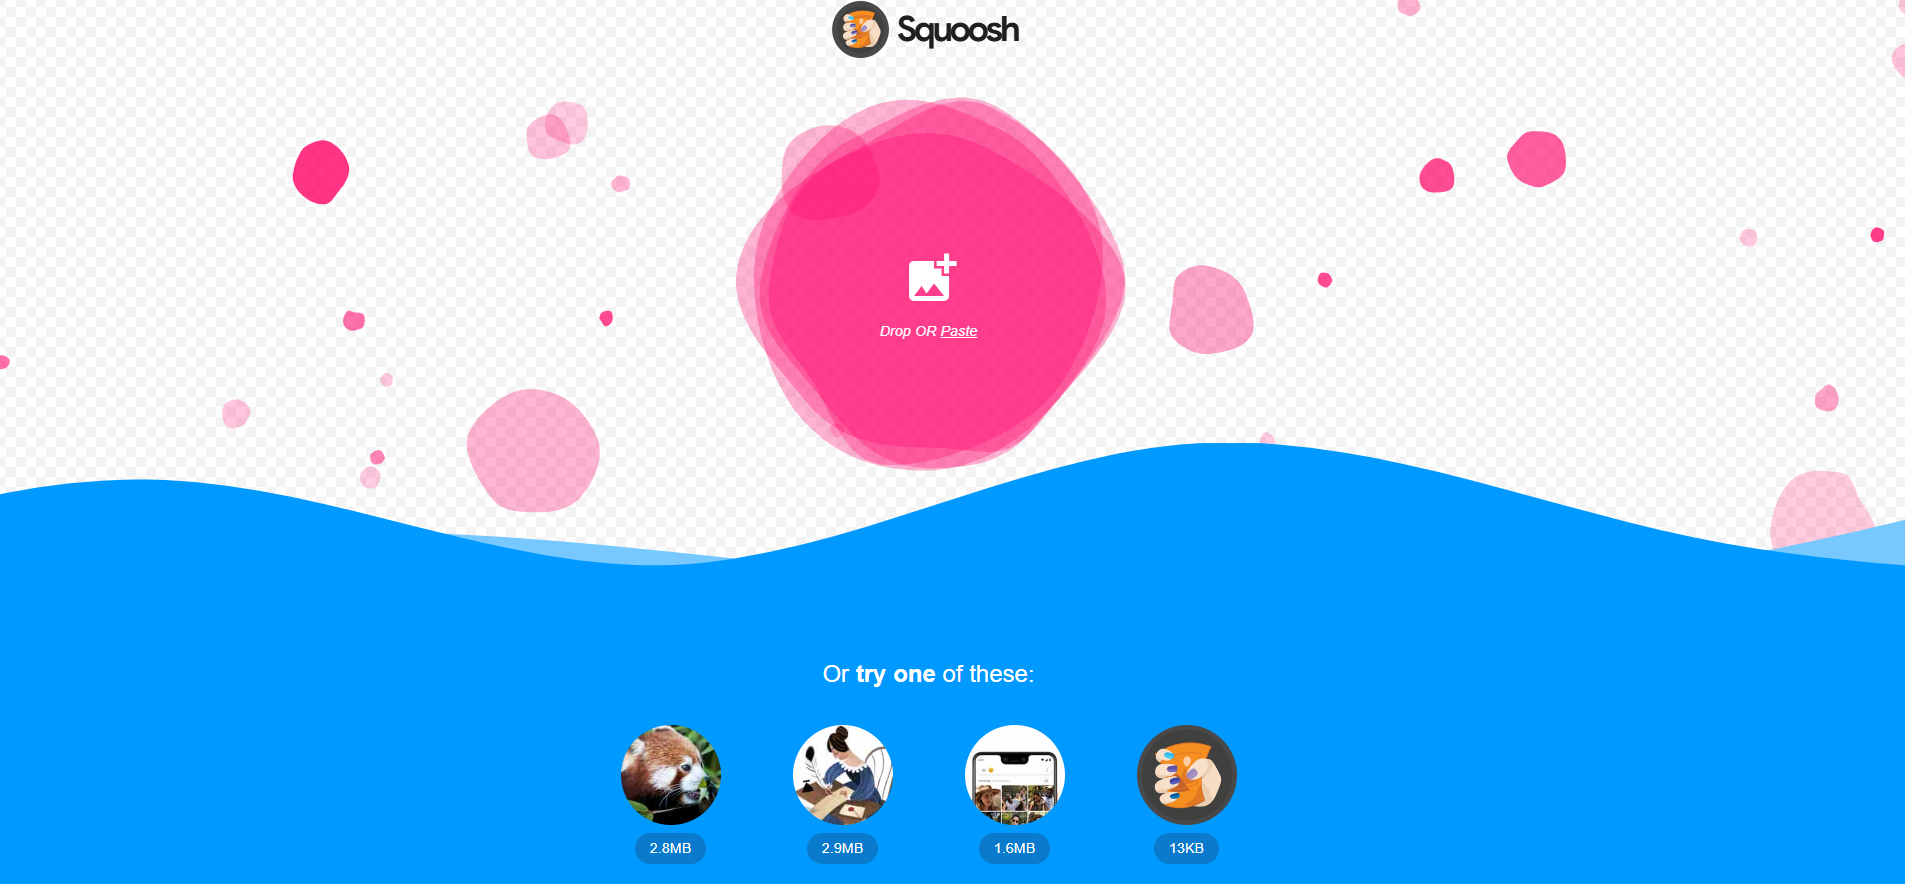
The Catch: Squoosh handles exactly one image at a time. There is no batch processing, no folder support, and no macOS automation. It's a browser-based tool, so it lives in a tab, not in your Dock. If you need to compress 40 product images at once, Squoosh is the wrong tool. But if you need to compress one important image as well as possible, it's hard to beat.
Squoosh is completely free and open-source.
3. Upscayl — Best for Local AI Image Upscaling
The Reality: Upscayl is free and open-source (AGPLv3 license). It uses machine learning models to enlarge images, and it does all of that processing locally, which means no cloud API, no subscription, no usage limits.
The Details: Upscayl was built with Apple Silicon in mind. It uses the Vulkan framework to run AI upscaling models directly on your Mac's GPU and Neural Engine. In practice, this means M-series Macs process upscaling jobs quickly, usually in a few seconds for a standard image.
You can scale images up by 2x or 4x while keeping edges clean and details sharp. The results are noticeably better than simple interpolation (the blurry enlargement you get from dragging a corner in Preview). Upscayl includes several different AI models so you can pick the one that fits your content.
Batch processing is supported. You can point it at a folder of images and upscale all of them in one run.

The Catch: Upscayl is resource-intensive by nature. That's unavoidable with local AI processing. On newer Apple Silicon Macs, this is rarely a problem. On older Intel Macs, large batch jobs can cause your Mac get warm and slow down to protect itself. If you're on an older machine and need to upscale a large batch, expect it to take a while and run it when you're not doing other demanding work.
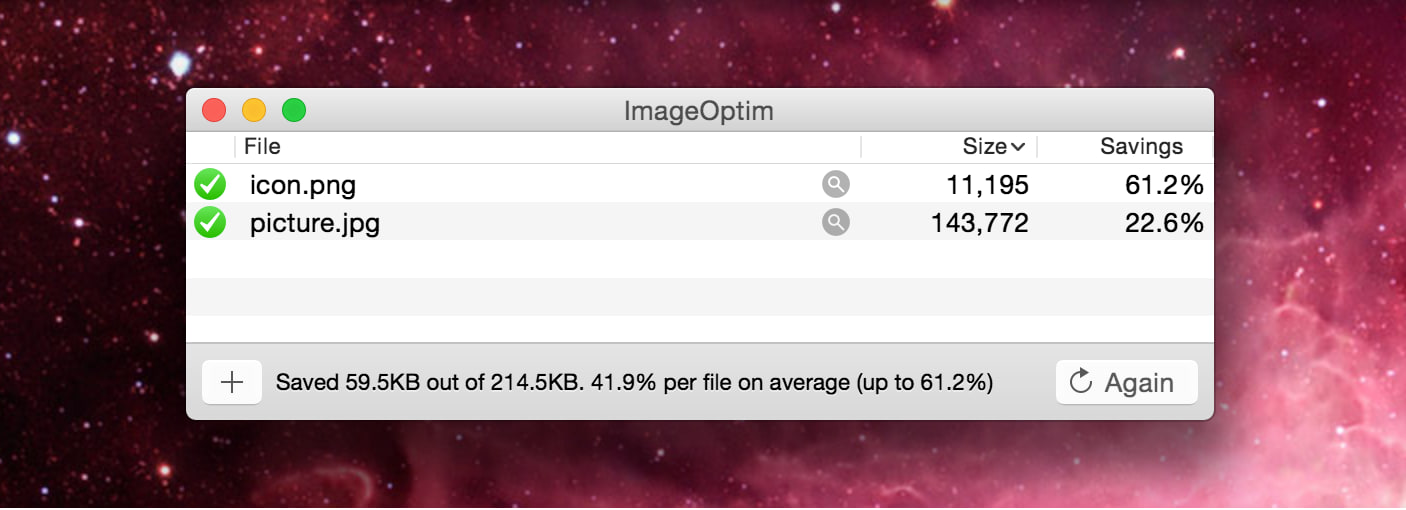
4. ImageOptim — Best for Lossless Shrinking and Metadata Removal
The Reality: ImageOptim is the quiet standard for image optimization on Mac. It's been around for years, it's open-source, and it does its job without any configuration required.
The Details: ImageOptim works as a frontend for several well-regarded compression tools and runs them locally against your files. You drag images onto it and it shrinks them, usually without any visible quality loss.
What makes it especially useful for privacy-conscious users is its automatic EXIF metadata stripping. Every photo taken with a camera or phone contains hidden data embedded in the file (such as GPS coordinates, camera make and model, serial number, and timestamp). ImageOptim removes all of that by default when it processes an image. For anyone publishing photos to the web, this is a meaningful privacy step.
The workflow is simple: drag files or folders onto ImageOptim, and it processes them in place (replacing the originals, so keep backups if you need them). No settings to configure, no export dialog to navigate.
The Catch: ImageOptim doesn't resize images. If you need to resize the images a separate tool is required for that step. It also doesn't convert between formats; it won't turn a JPEG into a WebP, and it doesn't handle modern formats like HEIC on its own. It's a compression and cleanup tool, not a conversion tool.
ImageOptim is completely free and open-source (GPL v2).
Which One Should You Open First?
Here's a quick way to decide based on what you're actually trying to do:
You have a folder of images to compress before uploading to a website → Use Zipic. Drag the folder in, let it run.
You have one important image and need precise control over quality vs. file size → Use Squoosh. Open it in your browser, use the slider, export when you're happy.
You have a low-resolution image that needs to be enlarged without going blurry → Use Upscayl. Pick a model, set the scale, let it process.
You're a developer or photographer about to publish images and want to strip metadata and reduce file size with zero configuration → Use ImageOptim. Drag, done.
None of these tools require a subscription. None of them need an account. And none of them send your files anywhere. They use your Mac's hardware to do what cloud tools charge monthly fees for.
If you're building a workflow around privacy-first Mac utilities, these four are a solid starting point.
Leave a Comment